How to make a DIY Nail Art Design at home?
Posted by Cshelloloh on
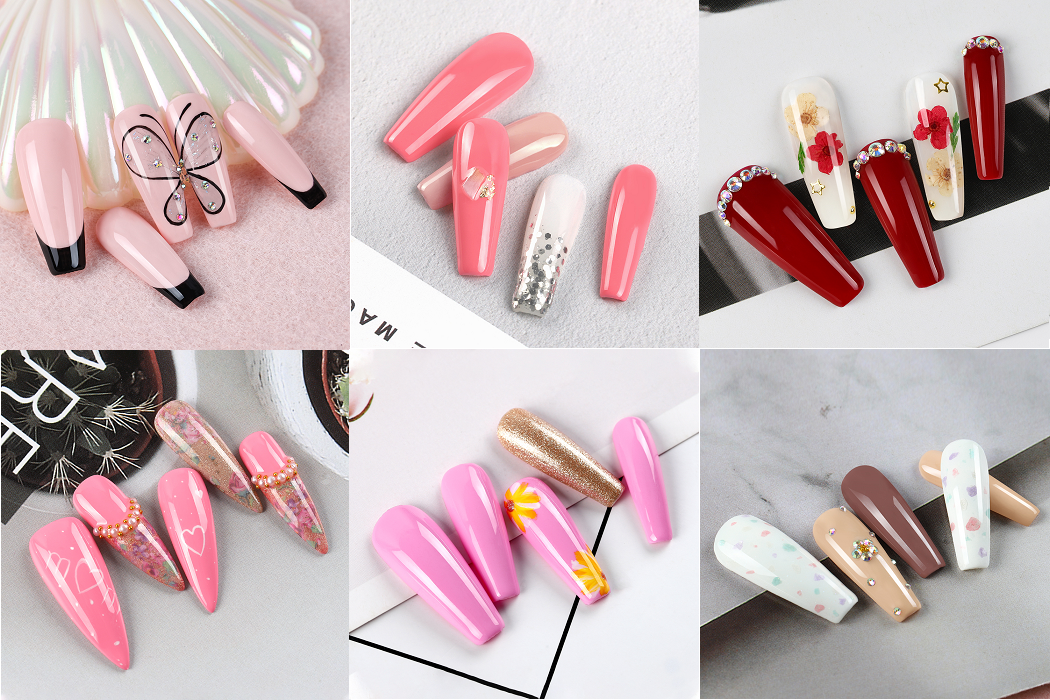
With Nail Gel Polish, open a new vision of Nail Art Design.
Recent years, more and more people concentrate on the arts on the nails. No matter girls, women or artistes, everyone wants to make her/his own fashion on the nail. With the fast growing requirements, the traditional nail polish can no longer meets people’s need. Then the new technology has emerged – Nail Gel Polish.
The Nail Gel Polish is a new technology of nail products. The basic material is resin, photo initiator, and various additives. The light-curing element in gel polish will cure under ultraviolet radiation; it’s firmer than the air dry, that’s why the gel polish can last till 1 month. With the features such as environmentally friendly, non-toxic, healthy and safe, easy to apply, long lasting, high color fastness, etc. It’s favored by the Nail Artistes and Nail Art funs.
But how to make a successful DIY Nail Art Design at home? The beginners may practice several times for a perfect nail design. Let’s go into the Nail Art World step by step. With the image display, you can understand clearly how the Nail Gel Polish is applied.
- First of all, you should prepare your nails. Apply the softener all over your finger margin to soften keratin. It’s to facility the nail cleaning work.
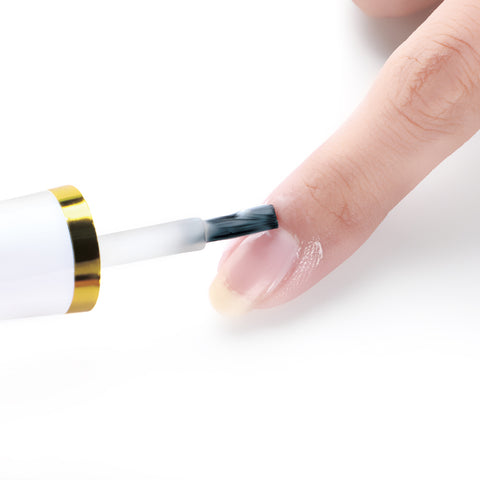
-
After the finger margin is softened, push the cuticle at the bottom of the nail. Make sure there are no more impurities on the nail.
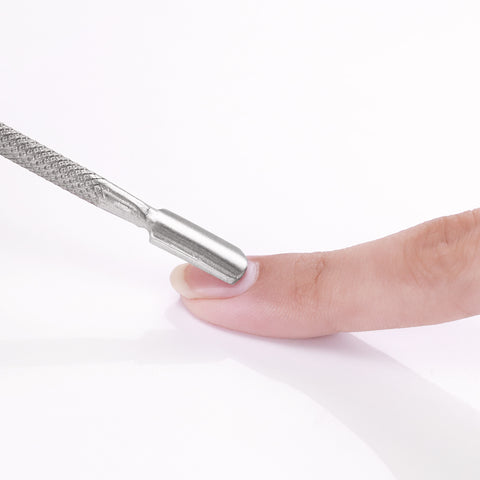
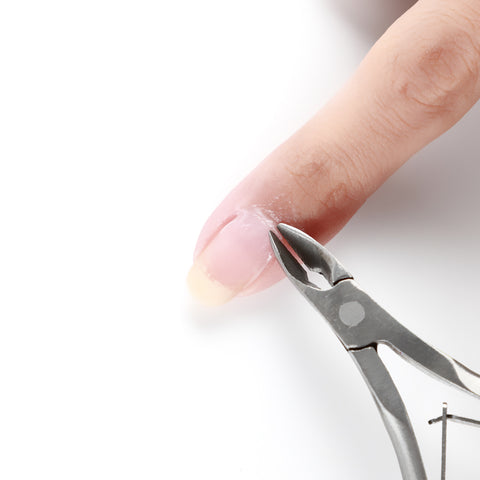
- With the cuticle scissors, remove cuticles from the edge of the finger, make the finger smooth and neat.
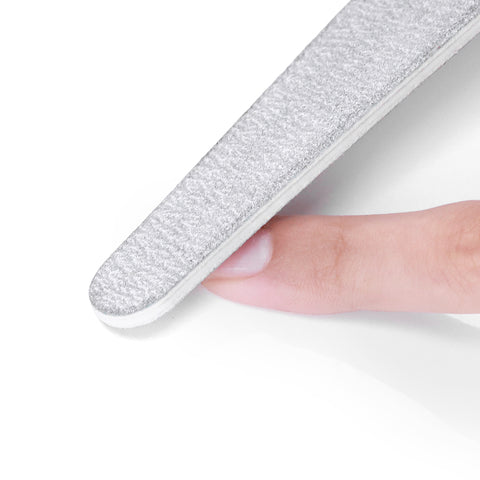
- Use the nail file to polish the surface of the nail. When tossing, the rear edge of the nail and the front of the nail should be neatly polished. If the nail surface is not smooth, the nail polish is easy to fall off. This step is really important; it’s for the gel to struggle well on the nail.
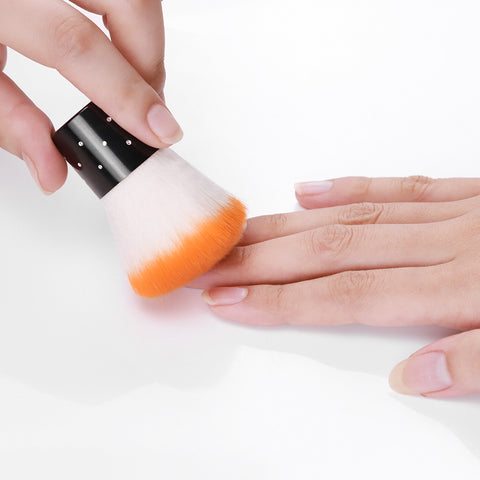
- Use the brush to clean the scrap and detritus on the nail.
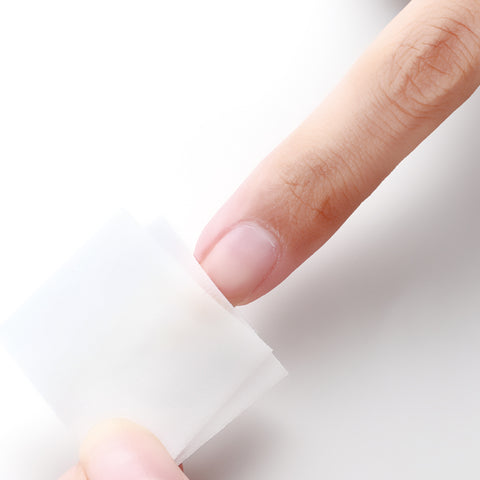
- Clean up the finger with a piece of cleaning wipe. Till now, the preparation of the nail is finished. When the nail is well-prepared, we can start to apply the gels.
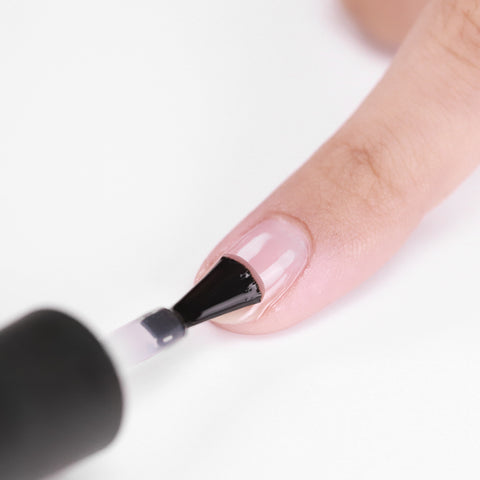
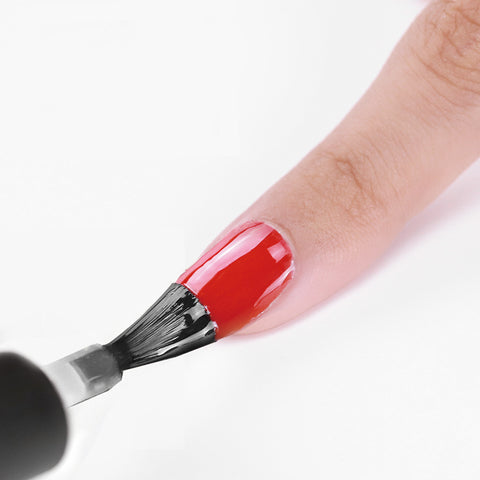
- Apply a layer of the base coat on the nail. Pay attention, this layer shouldn’t be too thick or too thin. The cure time is depends on the thickness of the gel. Do not apply too thinly around the edges. Too thin will lose the supporting force and cause the break off like a pancake. It is recommended to apply the half-apply method, from bottom to top (first apply the lower half of the nail and then apply the entire face upwards, so that the color saturation is stronger and the top and bottom are more even), and finally pay attention to cover the edge.


-
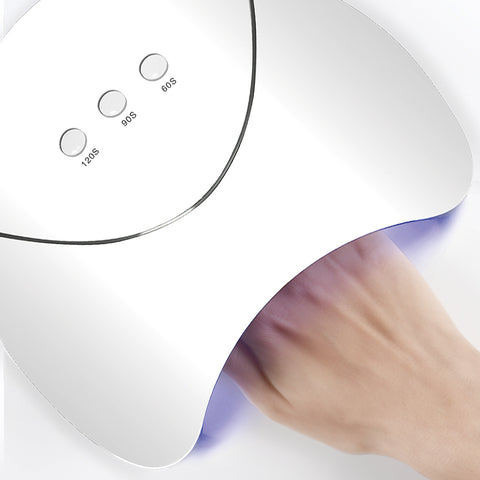
Cure the gel under the UV/LED lamp for 1-2 minutes. Normally, the cure time of a 36W lamp is about 2 minutes. The lamp with a higher voltage will be shorter, and the lamp with a lower voltage should be longer.
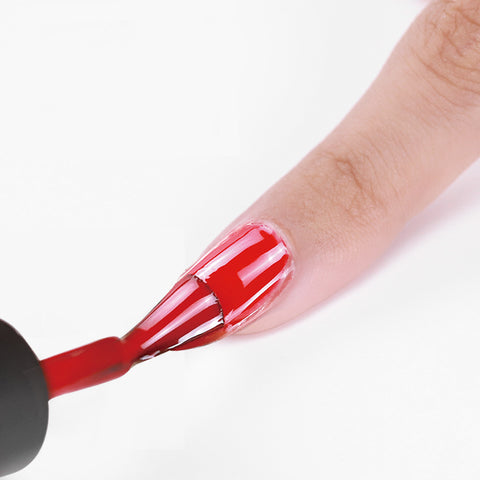
- Apply the color nail gel polish. The same with the base coat, the layer shouldn’t be too thin or too thick. Too much will cause uneven coating. Also, add a little more volume around the edge, so that the edge does not look blurry and firm, in order to avoid lumps. Finally pay attention to cover the edge.
-
Cure the gel under the UV/LED lamp for 1-2 minutes. If you want a more saturated color, repeat step 8 and 9 for several times, until you are satisfied with the result.
-
Apply the top coat. The same with the step of base coat. Do not apply too thinly around the edges, completely cover the color gel, apply the gel on the nail surface, and finally pay attention to cover the edge.
-
Cure the gel under the UV/LED lamp for 1-2 minutes.


Everything is well done. Now, you can appreciate your nail art. And also, you start to become an excellent manicurist.