Nail Art Tutorial You’ll Love To Show Off
Posted by Zshelloloh-2 on
Nail art is such a wonderful way to highlight the fashion style and remain fashionable. Do you do your nails in nail salons or at home? I like doing my own nail painting because I enjoy the process of doing it myself and I can choose my favorite colors and designs. With a few tips and tricks, and some creative tools you might already have, you can still make salon-level nail art right at home. The followings are some creative DIY nail art designs that are actually easy to do. These are also useful tricks and tips that can help you making amazing nail designs. If you don’t have the time and patience to go to the nail salon, definitely try some of these ideas. Enjoy!
You might need some extra equipment but investing in a UV lamp can actually help you save a lot of bucks and time for your manicure. Getting your nails “cured” with the UV light right after applying them dries the polish up right away. You also don’t have to wait a long time for your new manicure to dry.
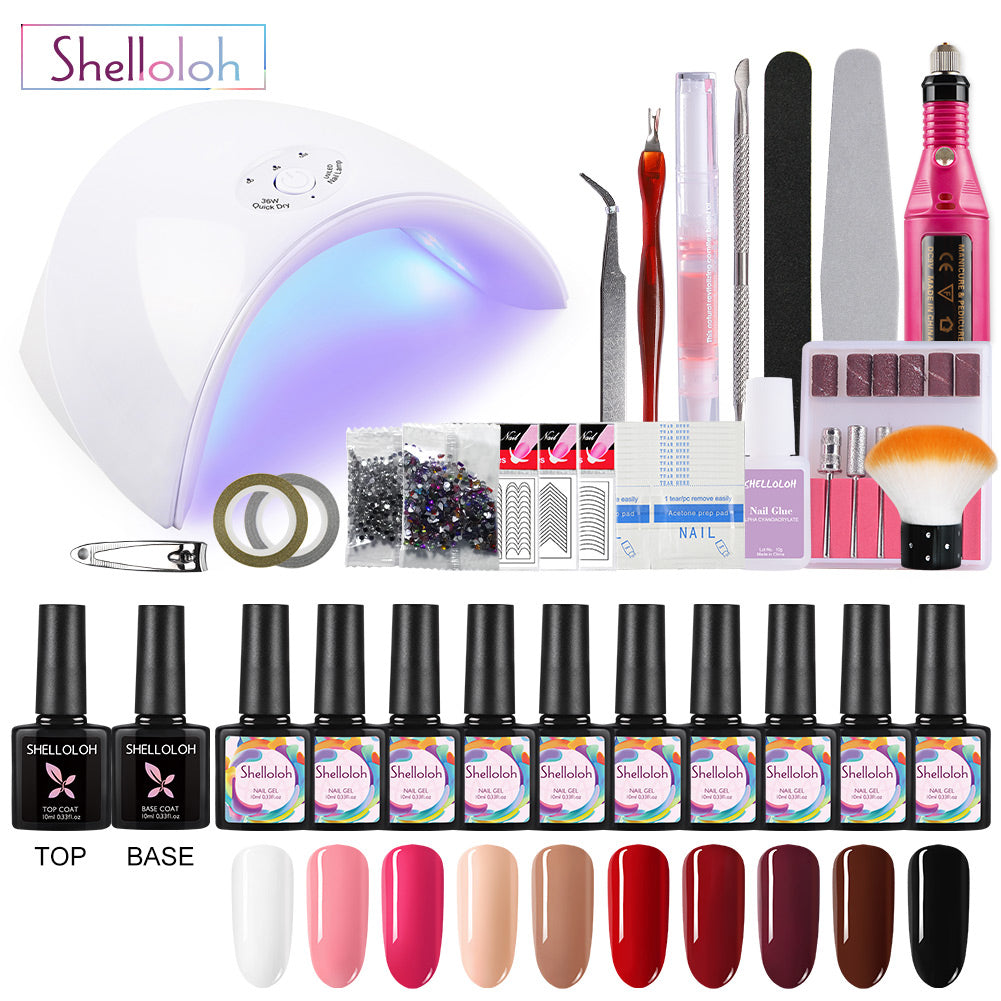
What you’ll need to make gel nails at home:
Nail Dehydrator or Rubbing Alcohol
Gelish Gel Base and Top Coat
Acetone or Non-Acetone Nail Polish Remover
UV or Led Lamp
Nail File
Cuticle Pusher
Swatch Sticks
Dotting Tools
Nail Buffer
Cuticle Oil and Hand Cream
I invested in the Shelloloh Gel Nail Polish Starter Kit. It comes complete with everything you
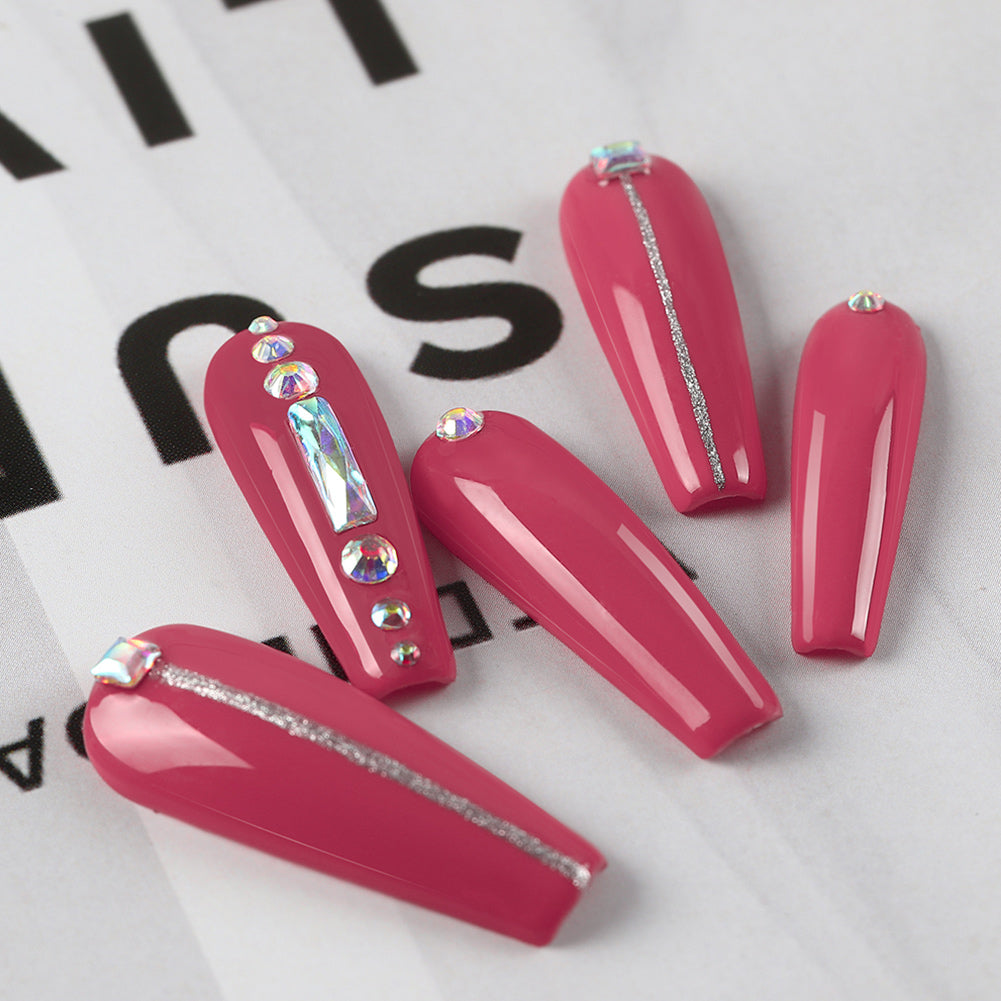
Rhinestone Manicure, Step by Step:
1. Shape your nails.
First, file your nails into an almond shape, with the tips more pointy than round.
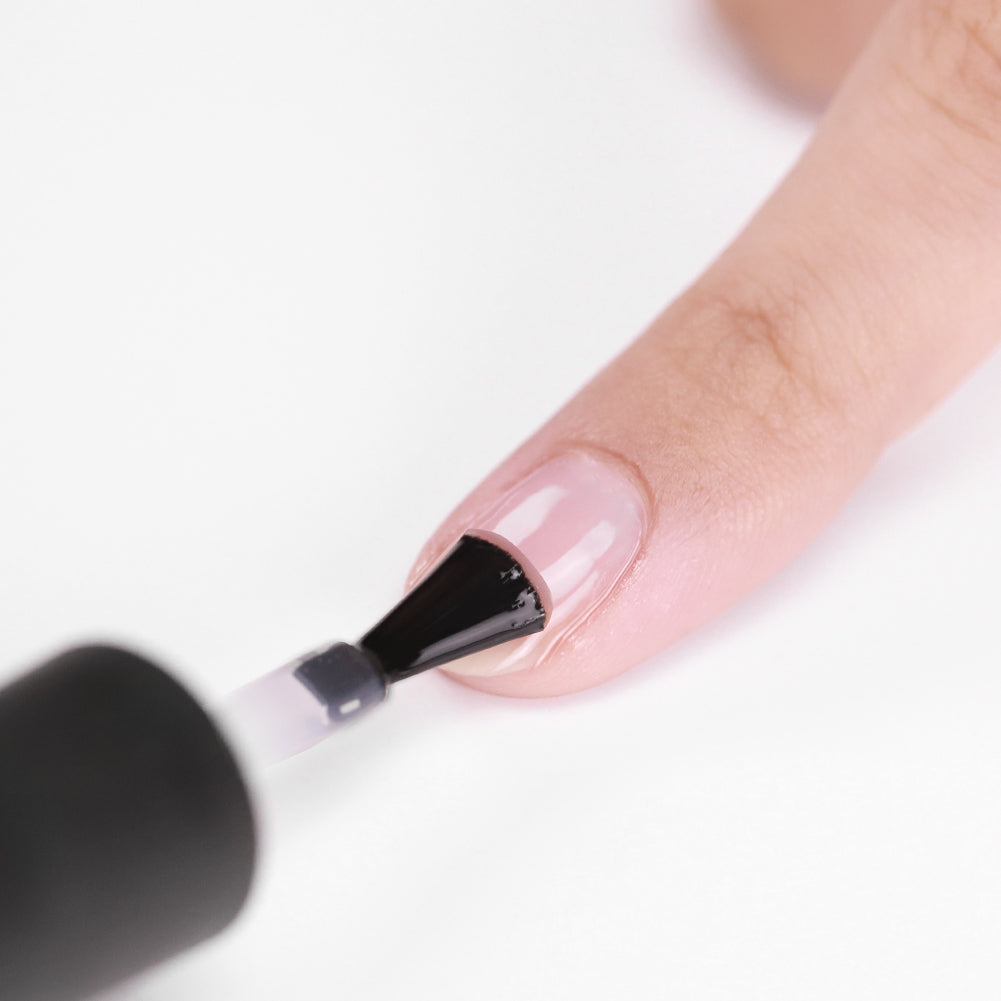
2. Prep.
Push back your cuticles, and apply a layer of base coat to each nail.
3. Paint one side of the heart.
Along the tip of each nail, paint a small diagonal oval from one side of your nail almost to the other.
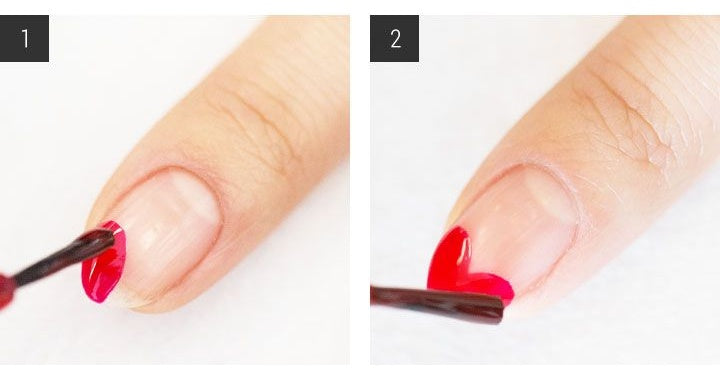
4. Create the other half of the heart. Make the same oval shape, starting from the other side of the nail and attached the ovals together in the middle, completing the heart. Finish with top coat.
Now go out there and break some hearts!

Rhinestone Manicure, Step by Step:
Before you begin, make sure that the rhinestones you’re using are set out, right-side up, on a flat surface. This will make them easier to pick up later. Now it’s time to bejewel your nails:
1.Put on you base coat and nail polish as you normally would.
2.After your polish has dried, take your stick and dab a bit of base coat on it, then use the part of the stick with the base coat on it to pick up a rhinestone from the top (i.e. the flat back should not be touching the stick, so that you can place it directly on the nail).
3.Dab some base coat on the flat back of the rhinestone. You should be able to see that there is base coat on the backing, but don’t use a ton – if it looks like there’s a little bit much, you can use a finger to gently wipe some off.
4.Place the rhinestone on your nail. Do this gently. You don’t want to dig the stone into the polish and risk messing it up.
Repeat these steps until you’re happy with them
Once you’ve finished, put on a generous amount of top coat to really seal the stones onto the nail. This step is really important!