New Arrival !!! Shelloloh Poly Extension Gel !!!
Posted by Cshelloloh on
Finally, Shelloloh's new poly extension gels are arrived!
Poly extension gel is a kind of phototherapy nail technology, which is mainly made of an acrylic resin oligomer. The gel should be cured by ultraviolet light, which is called UV lamp, LED lamp, or UV/LED lamp. The poly extension gel is often used for extension and reinforcement. It has the characteristics of good toughness, natural lightness, long retentio, and odor.
Now, let's take a look at the advantages of Shelloloh's extension gel!
Composition: Acrylic resin oligomer, which is a kind of thermoplastic or thermosetting resin coating.
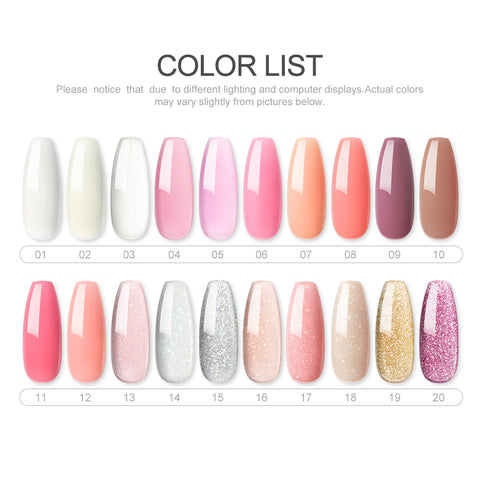
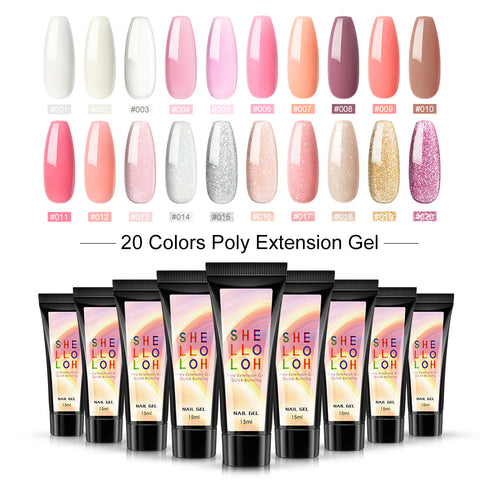
Colors: A total of 20 colors, divided into pearlescent color and crystal color. There are 8 types of pearlescent colors and 12 types of crystal colors. The grand variety of colors bring you a big choice, they can meet all your needs for a great nail art.
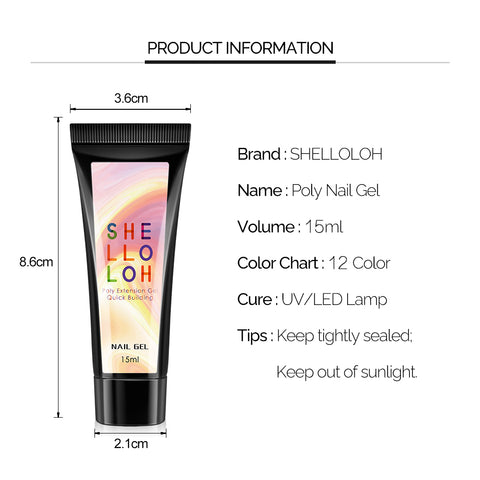
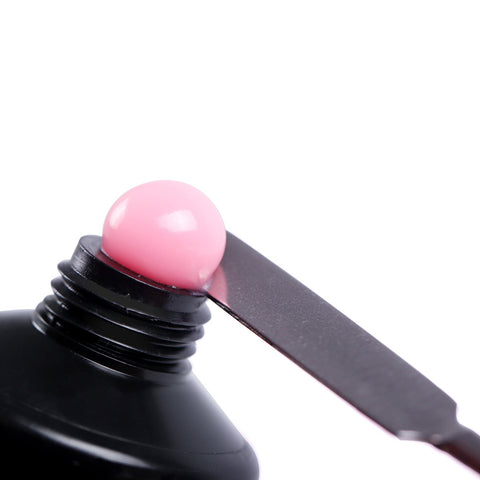
Description: Rubber tube design, make the gel be squeezed easily. With the tightly sealed, the gel is well protected and can be kept for a longer time. Volume of 15ml / piece, it's neither too much nor too few for a daily use. Attention: the gel needs the UV lamp or LED lamp to be cured.
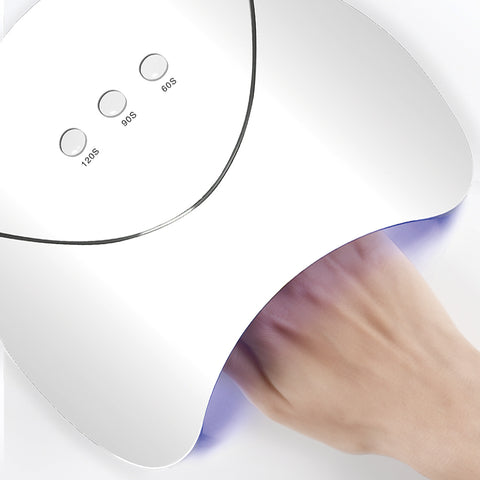
Principle: To cure the nail extension gel, an UV lamp or a LED lamp is necessary. The gel lamp activates the active gene in the resin photoinitiator through ultraviolet A rays, and cures and forms with the double base in the acrylic resin through the photosynthesis reaction.
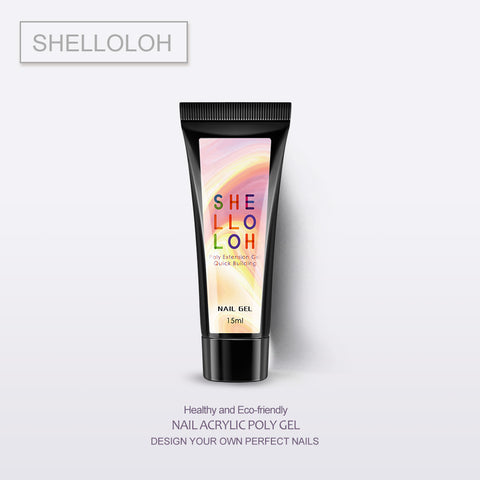
Advantages: high transparency, high gloss, natural lightness, high toughness, no odor, not easy to turn yellow, not easy to break, long lasting, healthy and Eco-friendly.
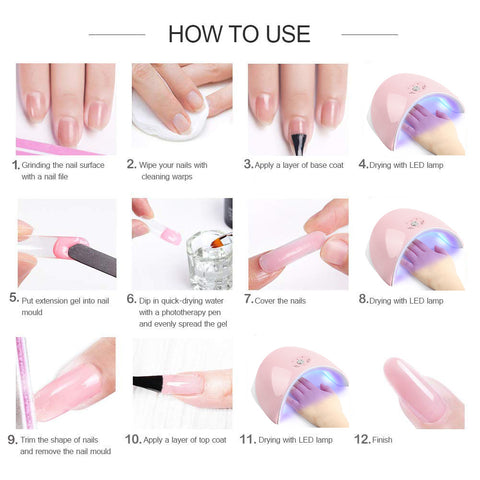
Steps to make an extension gel.
- Grinding the nail surface with a nail file
- Wipe your nails with cleaning wraps
- Apply a layer of base coat
- Drying with UV/LED lamp
- Put extension gel into nail mould
- Dip in quick drying water with a phototherapy pen and evenly spread the gel
- Cover the nails
- Drying with UV/LED lamp
- Trim the shape of nails and remove the nail mould
- Apply a layer of top coat
- Drying with LED lamp
- Finish
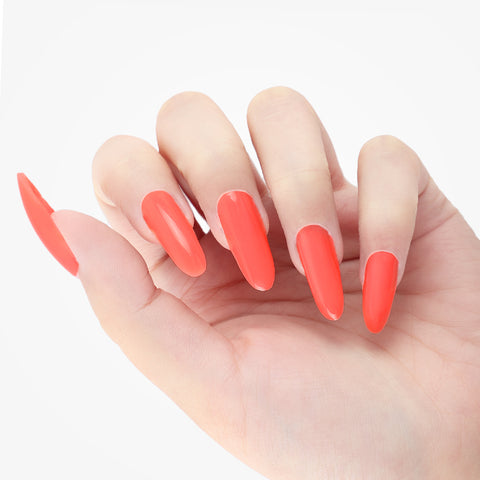
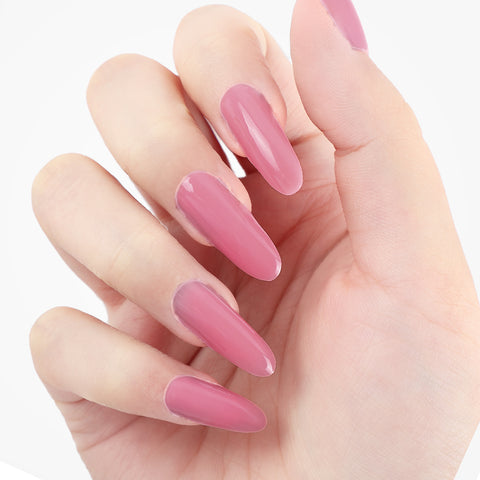
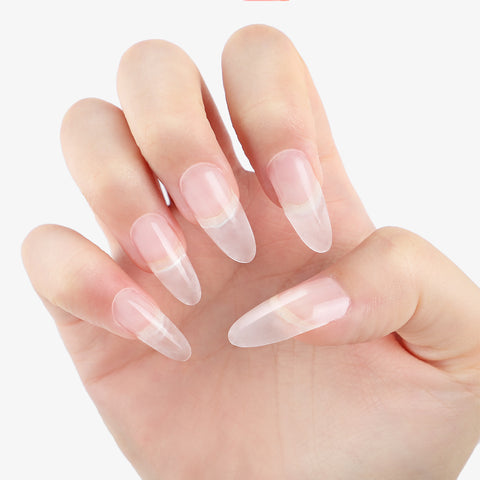
Gallery.